
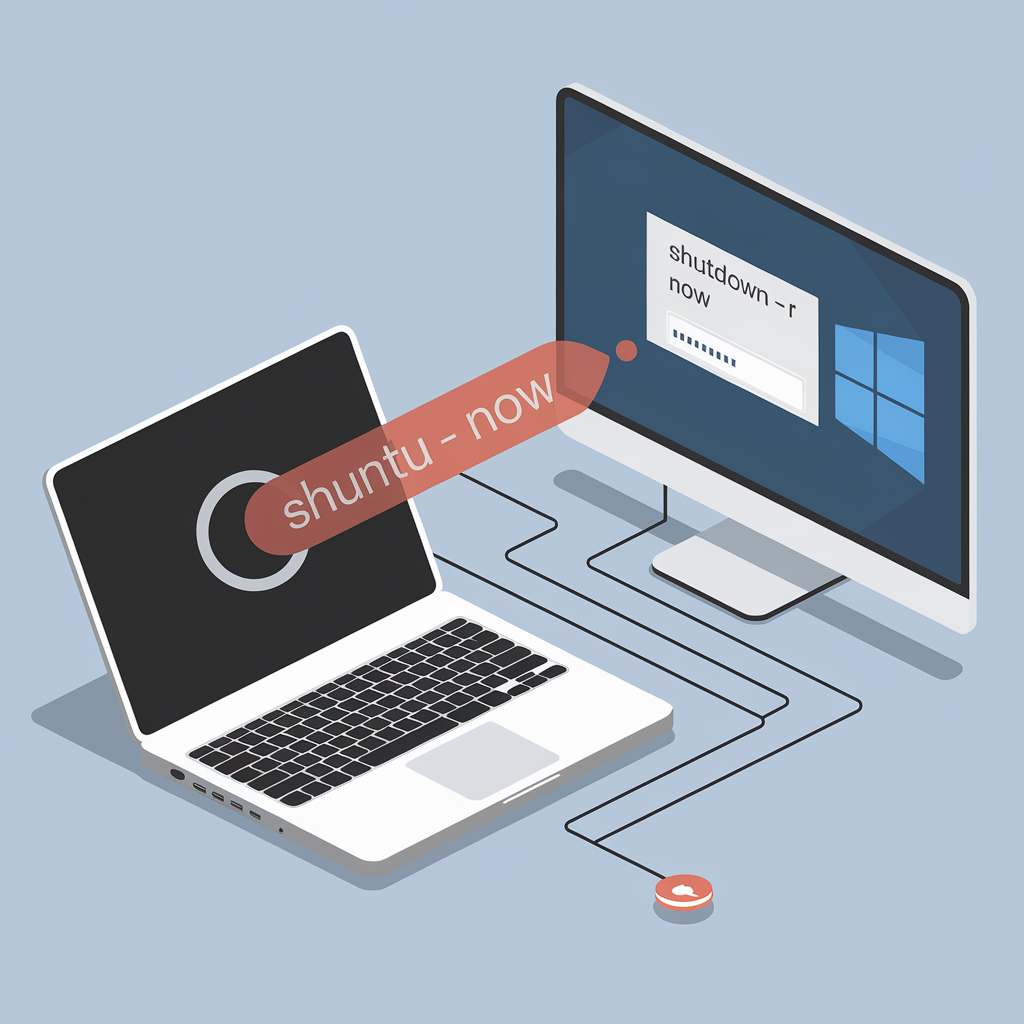
At some point, you may need to remotely restart a Windows machine (for example, if it has become unresponsive due to a process). In this post, I will explain how to do it from Ubuntu.
This is possible as long as you have the appropriate privileges and configurations on the Windows machine, and the solution consists of the following steps:
1. Configuring the Windows Machine:
- Enable Remote Management on Windows:
- Go to Control Panel → System and Security → System → Advanced System Settings.
- In the Remote tab, make sure that the Allow remote connections option is enabled.
- Allow Windows to Accept Remote Restarts via Commands:
- Enable Windows Remote Management (WinRM) from PowerShell with administrator privileges:
winrm quickconfig
- Ensure that port 5985 is open in the firewall.
- Enable Windows Remote Management (WinRM) from PowerShell with administrator privileges:
2. Sending the Signal from Ubuntu:
You can use tools like net rpc (part of the Samba package) to send the restart command:
- Install
sambaon Ubuntu if you don’t have it:sudo apt install samba
- Then, use the following command to restart the Windows machine:
net rpc shutdown -I <Windows_IP> -U <User>%<Password> -r
Replace <Windows_IP> with the IP address of your Windows laptop, and <User> and <Password> with the credentials of the Windows account with administrative privileges. The
-rparameter indicates that you want to restart the machine.
This option allows you to restart without a direct remote connection (like RDP), but it still requires access to the local network and the appropriate permissions.
Keep in mind that when you run the winrm quickconfig command, you might get the following error:
Message = The WinRM firewall exception will not work because one of the network connection types of this machine is set to Public. Change the network connection type to Domain or Private and try again.
This is due to the fact that the network configuration of your Windows machine is set to “Public,” which prevents WinRM from functioning properly due to security restrictions. To fix this, you can change the network configuration to “Private” or “Domain.” Here’s how to do it:
1. Open Network Settings:
- Click on the network icon in the taskbar (near the clock).
- Select Network & Internet Settings.
2. Change the Active Network:
- In the Status section, click on Network Properties.
- You will see the network you are connected to. Click on it to open the properties.
3. Change Network Settings:
- In Network Profile, change the setting from Public to Private.
Verify the Network Settings
After changing the network profile, you can verify that the settings have been applied correctly:
1. Run PowerShell:
- Open PowerShell as an administrator.
2. Check Network Settings:
- Run the following command:
Get-NetConnectionProfile
- Make sure that the
NetworkCategoryof the active network is Private.
Enable WinRM
Once you have changed the network configuration, try running the winrm quickconfig command again in PowerShell. If everything is correct, you should be able to enable WinRM without issues.
Security Note
Switching to a Private network profile allows for greater flexibility in connections, but ensure that your network is trusted to avoid security risks.